Table of Contents
- TL;DR
- Adding an outbound proxy to n8n cloud
- Setting up prerequisites for installing n8n
- Installing, configuring, and running n8n using Docker Compose
- Setting up instance-wide outbound proxy for self-hosted n8n
- Security notes for self-hosting n8n
- Conclusion
- Frequently asked questions
n8n is a low-code workflow automation tool that enables you to connect different APIs to create workflows. It also has plenty of AI features that make it an attractive option for AI adoption. The cloud version suffices for most users as an easy plug-and-play solution. One of the common limitations of the cloud version is that it doesn't provide static IP addresses for outbound API calls made by the nodes that are part of the workflows. This makes IP allowlisting difficult and causes 403 errors, which can be resolved using OutboundGateway as a proxy with a couple of static IP addresses.
In addition to its cloud version, n8n also has a hugely popular fair-code edition (currently 198k+ stars on GitHub) that can be self-hosted. The self-hosted edition is harder to set up, but gives you more control over the deployment and runs n8n in an isolated environment. This edition has free components as well as certain enterprise license portions that can only be used with a license key. If you need an outbound proxy for the self-hosted edition, you can set it up for the whole instance by just setting some environment variables.
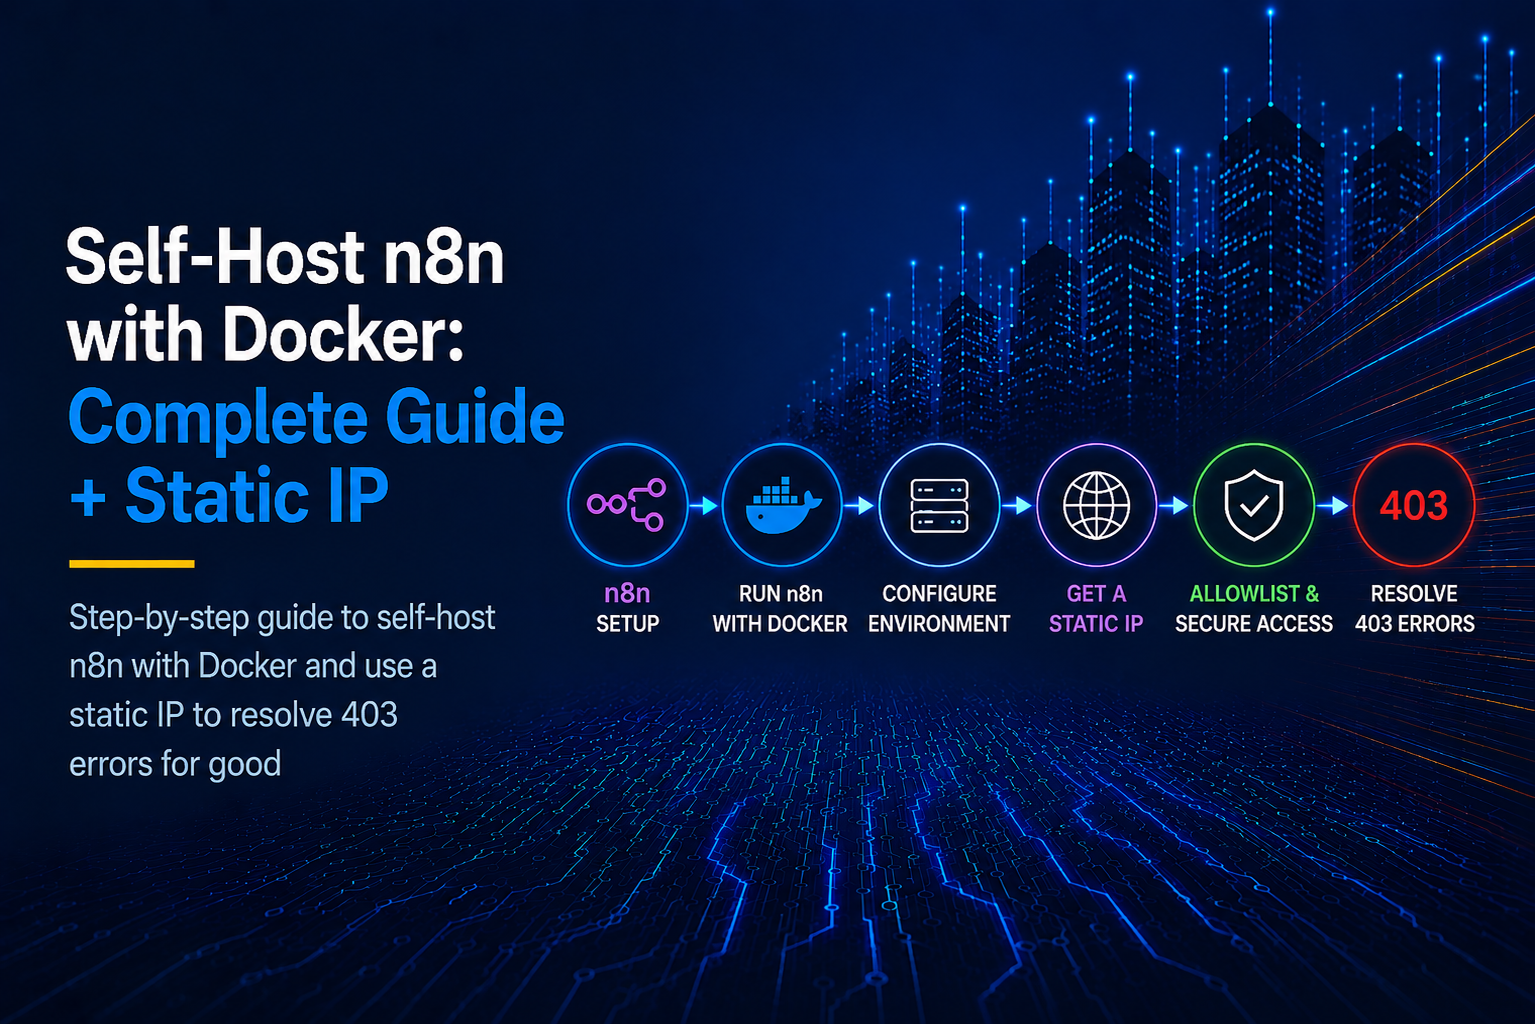
Regardless of the free or licensed edition you choose to self-host, the basic setup steps are the same. In this blog, we cover the detailed step-by-step instructions for self-hosting n8n on a fresh Ubuntu 24.04 VPS, plus setting up an outbound proxy to give n8n a static IP for making API requests. The self-hosting approach uses Docker and is mostly cloud-provider agnostic. It should work with AWS EC2, Google Cloud or Azure compute instances, DigitalOcean droplets, Hetzner servers, Akamai/Linode servers, etc.
TL;DR
Following are the steps to self-host n8n on a fresh Ubuntu 24.04 VPS and optionally add an HTTP(S) proxy for outbound requests:
- As prerequisites, point a subdomain to your VPS IP, set up a fresh non-root user, and install Docker Compose. Then install PostgreSQL and create a database and user for n8n.
- Pull the n8n-hosting repository. Configure the Caddyfile with your subdomain, and other env variables, including the PostgreSQL credentials. Now you can run this with Docker Compose.
- To add an outbound proxy and ensure n8n nodes make HTTP requests with a fixed IP address, you can use OutboundGateway which gives a pair of static EU-based IP addresses.
- You can set up the outbound proxy for the whole instance (only when self-hosting) or per node (for both self-hosting and cloud versions of n8n).
- Make sure the self-hosted version is secured with a firewall, allowing incoming traffic only through ports 22, 80, and 443 (SSH, HTTP, and HTTPS). Specifically, block external access to the PostgreSQL port (5432).
If you got here trying to resolve a 403 or API access error on your n8n cloud node, let's look at resolving that first.
Adding an outbound proxy to n8n cloud
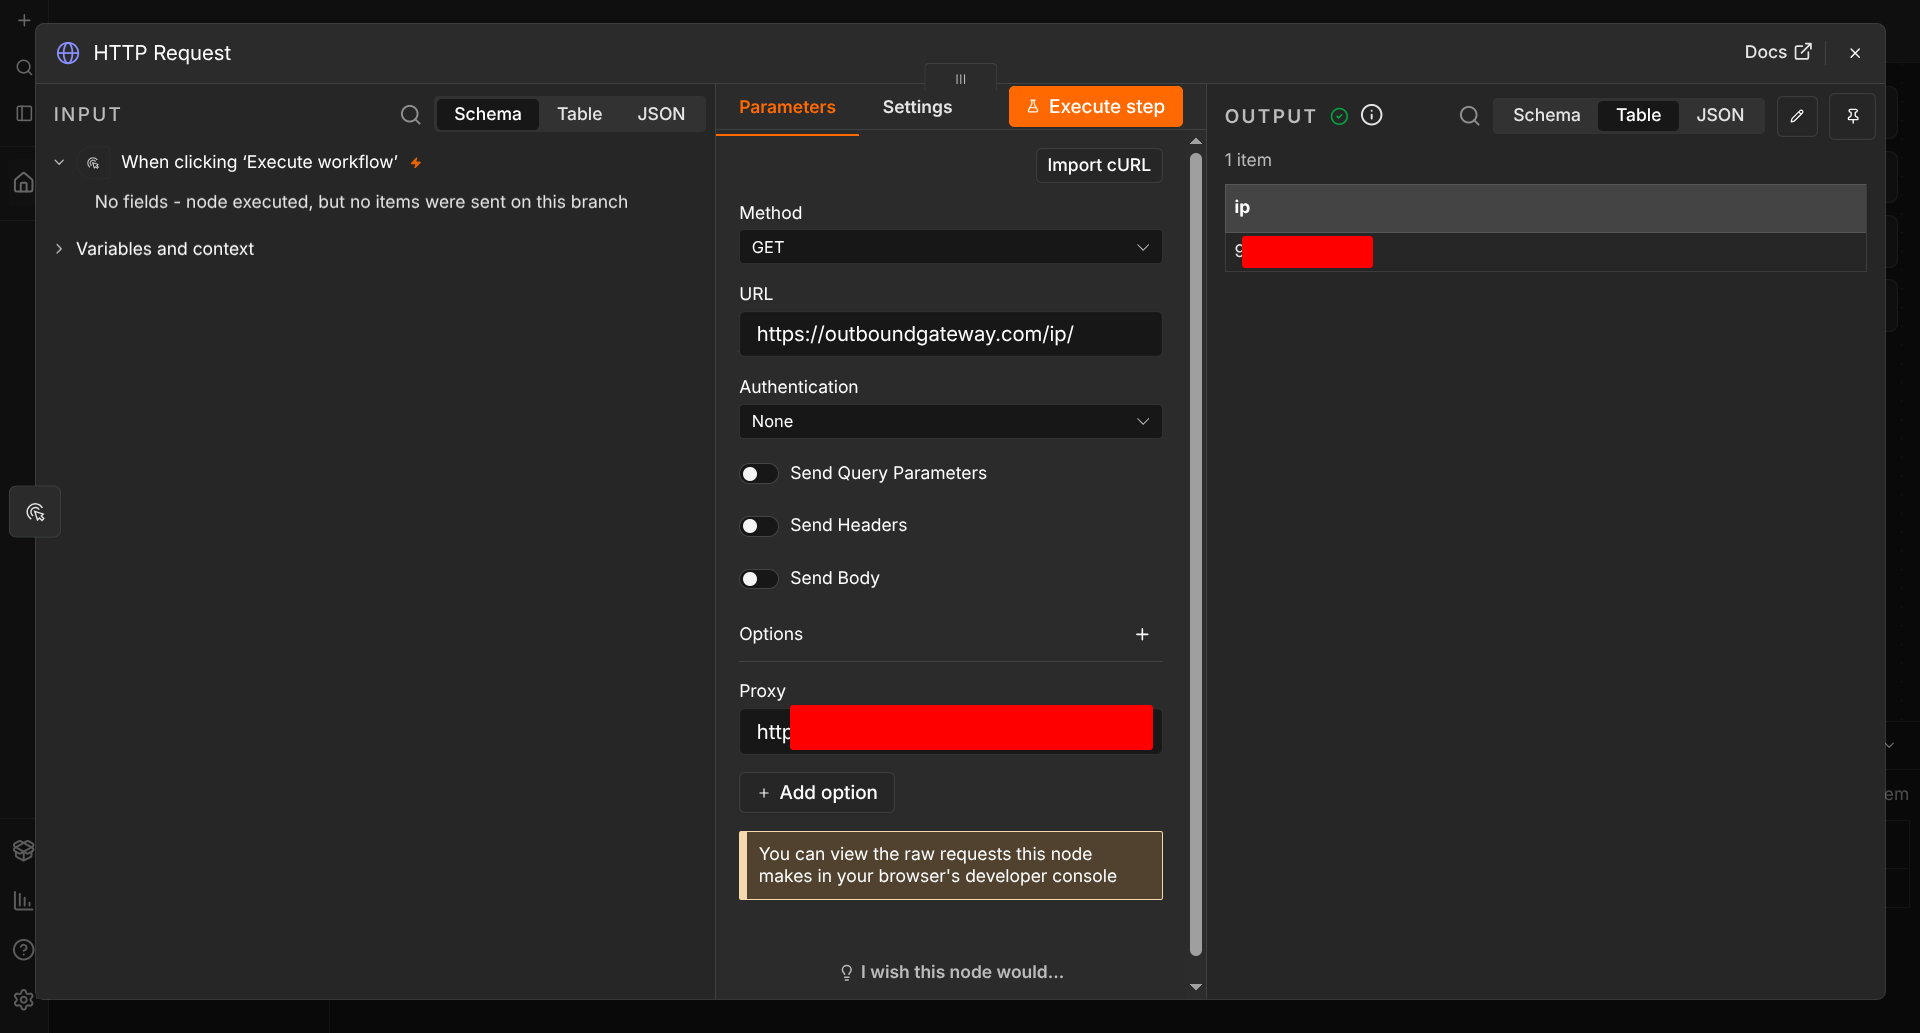
If you already have a n8n account and just want to add an HTTP proxy, you can add a proxy for a specific node from the front-end. To set up OutboundGateway for a particular node (say an HTTP request node that returns the node's outbound IP address), go to the node settings and add the Proxy option. Your proxy URL will be http://<your-username>:<your-pwd>@eu-01.outboundgateway.com:9443. Now when you run this node, you will see the output showing one of the two static IP addresses that OutboundGateway gives you.
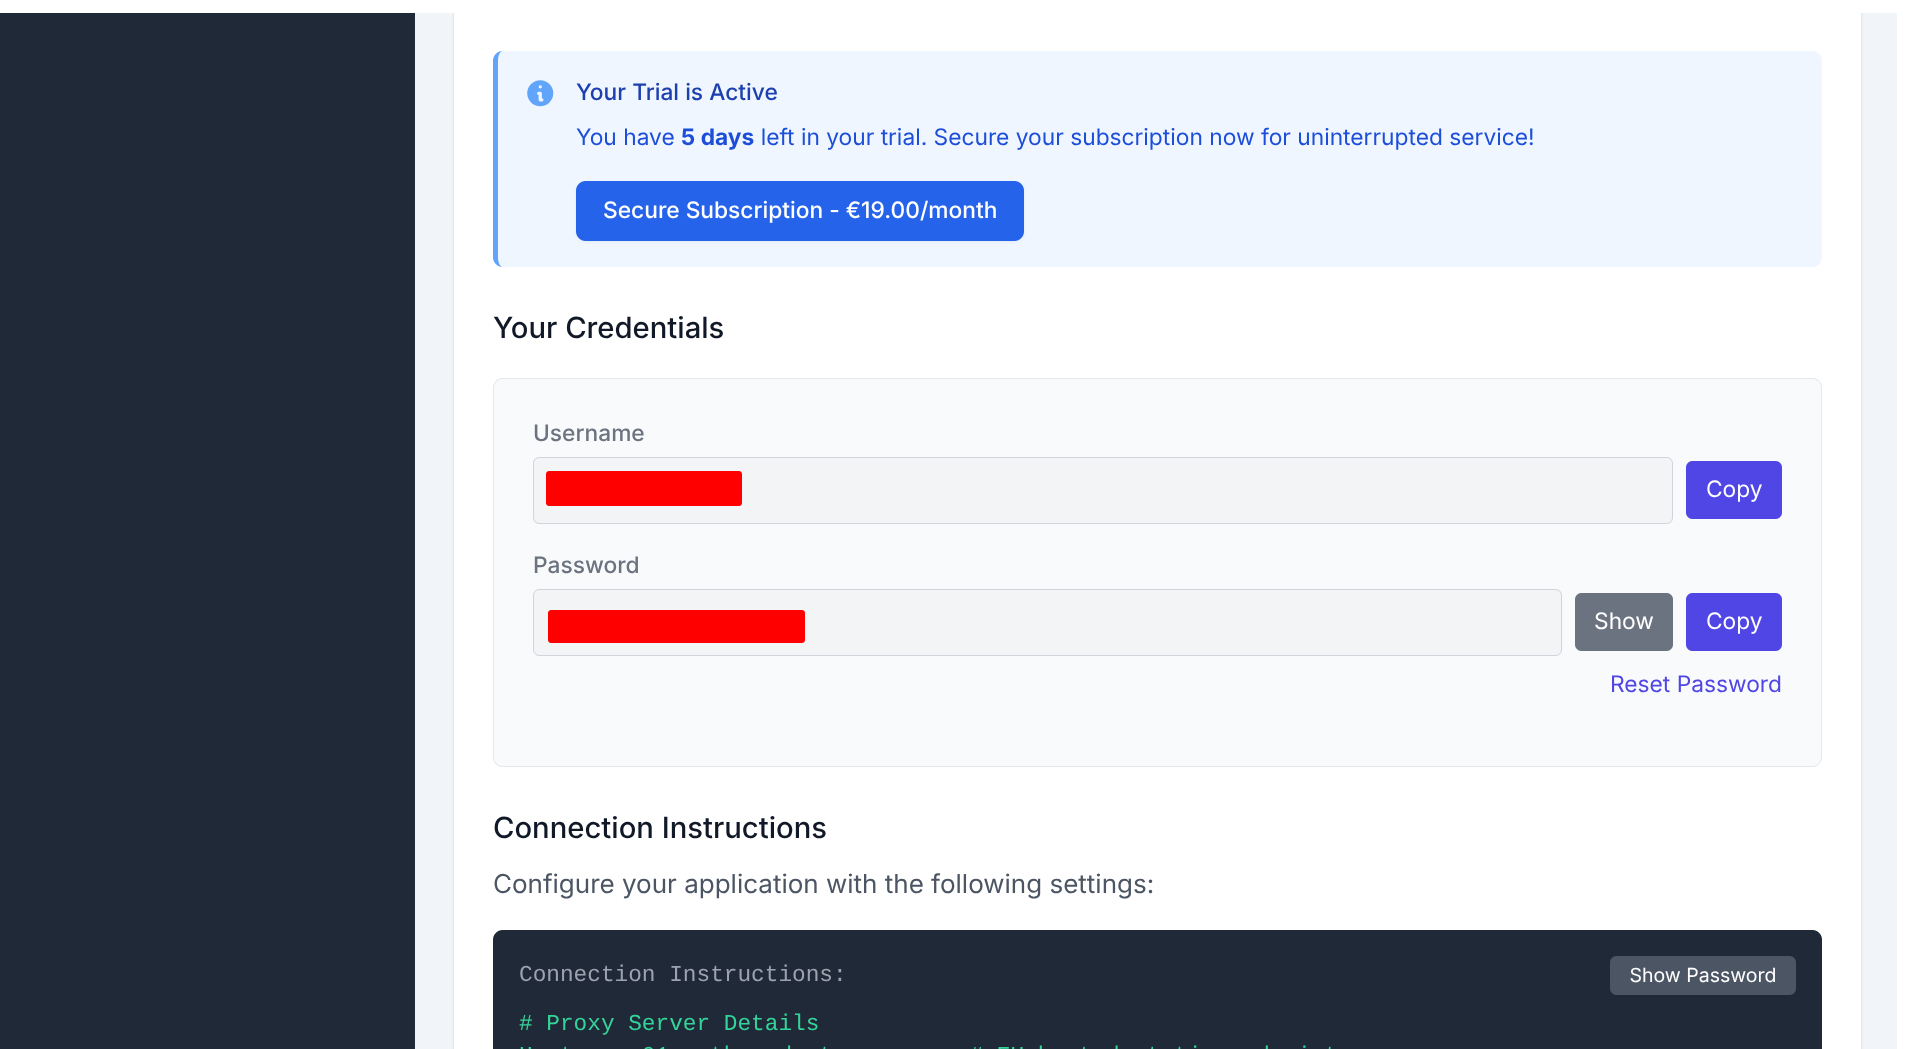
You can get the proxy credentials from your OutboundGateway dashboard as shown below:
Setting up prerequisites for installing n8n
For installing n8n on a fresh Ubuntu VPS you will need to create a user that is not root, and have Docker Compose installed so you can pull the official n8n-hosting repository and run it. Next, you also need a domain or subdomain to host this. Let's go with n8n.example.com as the subdomain for illustrative purposes in this guide. You can change that to whichever name you'd like to use. Additionally, though n8n uses an SQLite database by default, we recommend using a PostgreSQL database instead. The steps to have all this ready are detailed below.
Pointing your subdomain to your VPS
For hosting n8n on n8n.example.com, you need to log in to your domain's DNS settings panel and point an A (alias) record to the IP address of your VPS. The DNS settings panel is typically found on your domain registrar's dashboard, unless you have configured it to be managed elsewhere. The exact instructions to do this vary by registrar, and if you haven't done it before you can look up the instructions specific to your registrar. Once this is done, you can check that the subdomain is pointing to your VPS IP using the nslookup command:
$ nslookup n8n.example.com
Server:     192.168.1.1
Address:    192.168.1.1#53

Non-authoritative answer:
Name:   n8n.example.com
Address: XX.XX.XX.XX
If the pointing has gone right, you'll see your VPS's IP address in the last line. Keep in mind that it might take a few hours for DNS changes to propagate.
Setting up a non-root user
Once you've provisioned a new VPS with your cloud provider, you would typically log in as root for the first time via SSH. To add a new user named demo, you can use the following commands:
adduser demo
usermod -aG sudo demo
The second command gives the demo user sudo access so they can install all the other requirements, start and stop Docker, etc. Next, you will want to add your public SSH key to this user's authorized_keys so you can remotely log in directly. To do this, you can switch to the user's prompt and append the key to the file at ~/.ssh/authorized_keys:
su - demo
mkdir -p ~/.ssh
nano ~/.ssh/authorized_keys
# paste in your public SSH key in a new line once nano opens
# save the file
Now you can log in as the demo user directly from your local machine:
ssh demo@n8n.example.com
Installing Docker Compose on Ubuntu 24.04
Installing Docker Compose on Ubuntu 24.04 from the official repository involves 4 steps: installing some prerequisites, adding Docker's GPG key, adding the Docker repository to APT sources, and finally installing Docker Compose and the other Docker components. The full series of commands to do it is below.
# Step 0
sudo apt update

# Step 1: Install Prerequisites
sudo apt install ca-certificates curl

# Step 2: Add Docker's GPG Key
sudo install -m 0755 -d /etc/apt/keyrings
sudo curl -fsSL https://download.docker.com/linux/ubuntu/gpg -o /etc/apt/keyrings/docker.asc
sudo chmod a+r /etc/apt/keyrings/docker.asc

# Step 3: Add Docker Repo to APT sources
sudo tee /etc/apt/sources.list.d/docker.sources <<EOF
Types: deb
URIs: https://download.docker.com/linux/ubuntu
Suites: $(. /etc/os-release && echo "${UBUNTU_CODENAME:-$VERSION_CODENAME}")
Components: stable
Architectures: $(dpkg --print-architecture)
Signed-By: /etc/apt/keyrings/docker.asc
EOF

# Step 4: Install Docker, Docker Compose etc.
sudo apt update
sudo apt install docker-ce docker-ce-cli containerd.io docker-buildx-plugin docker-compose-plugin
Once you're done, you can check that Docker is running using the systemctl status command:
$ sudo systemctl status docker
● docker.service - Docker Application Container Engine
     Loaded: loaded (/usr/lib/systemd/system/docker.service; enabled; preset: enabled)
     Active: active (running) since Wed 2026-07-22 08:07:21 UTC; 22s ago
TriggeredBy: ● docker.socket
       Docs: https://docs.docker.com
   Main PID: 2503 (dockerd)
Installing PostgreSQL and creating a database for n8n
You can install PostgreSQL using the following apt commands, and then log in as the postgres user to create a new user and database for n8n.
sudo apt install postgresql postgresql-contrib
sudo -u postgres psql
Once you're in the psql prompt, the following commands will create an n8n user and database, and assign all the necessary permissions to the user:
CREATE DATABASE n8n;
CREATE USER n8n WITH ENCRYPTED PASSWORD 'n8npwd';
GRANT ALL PRIVILEGES ON DATABASE n8n TO n8n;

\c n8n;
GRANT ALL ON SCHEMA public TO n8n;
Finally, you need to change some configurations to allow connections to the database server from inside Docker containers:
sudo nano /etc/postgresql/<your-version>/main/postgresql.conf
# add the following line without the leading #
# listen_addresses = '*'

sudo nano /etc/postgresql/<your-version>/main/pg_hba.conf
# add the following line without the leading #
# host    all    all    172.17.0.0/16    md5
With this you have everything you need to install and run n8n using Docker. A quick word on security: ensure that your PostgreSQL server is not accessible from outside the VPS. Typically you'd set up a firewall to block incoming traffic to port 5432, either internally using ufw or using the dashboard of your cloud provider. After all these changes, restart the PostgreSQL server once, and enable it so it starts automatically with each boot:
sudo systemctl restart postgresql
sudo systemctl enable postgresql
Installing, configuring and running n8n using Docker Compose
Installing n8n
After you have pointed your subdomain (n8n.example.com) and installed Docker Compose, you can pull the n8n-hosting repository to set it up. The official setup consists of two units: one is the n8n server itself, and the other is a Caddy reverse proxy to route the incoming traffic to the server, and handle SSL certificate provisioning. You'll need to create Docker volumes for both these units to store their data. The steps are below:
cd ~
git clone https://github.com/n8n-io/n8n-docker-caddy.git
cd n8n-docker-caddy
sudo docker volume create caddy_data
sudo docker volume create n8n_data
That's it! The installation is complete.
Configuring n8n
Next, let's look at configuring n8n. Use nano .env to open up the environment file and paste in the following config:
# Replace demo with your username
DATA_FOLDER=/home/demo/n8n-docker-caddy

# Replace with your subdomain names
DOMAIN_NAME=n8n.example.com
SUBDOMAIN=n8n

GENERIC_TIMEZONE=<your-time-zone>
SSL_EMAIL=<your-email>

DB_POSTGRESDB_DATABASE=n8n
DB_POSTGRESDB_HOST=host.docker.internal
DB_POSTGRESDB_PORT=5432
DB_POSTGRESDB_USER=n8n
DB_POSTGRESDB_PASSWORD=n8npwd
DB_POSTGRESDB_SSL_REJECT_UNAUTHORIZED=false
Note that DB_POSTGRESDB_SSL_REJECT_UNAUTHORIZED is set to false. Do this only when you trust your local setup and have blocked external connections to PostgreSQL using a firewall.
Next, you'll need to edit your docker-compose.yml to read these environment variables from the .env file:
version: "3.7"

services:
  caddy:
    image: caddy:latest
    restart: unless-stopped
    ports:
      - "80:80"
      - "443:443"
    volumes:
      - caddy_data:/data
      - ${DATA_FOLDER}/caddy_config:/config
      - ${DATA_FOLDER}/caddy_config/Caddyfile:/etc/caddy/Caddyfile

  n8n:
    image: docker.n8n.io/n8nio/n8n
    extra_hosts:
      - "host.docker.internal:host-gateway"
    restart: always
    ports:
      - 5678:5678
    environment:
      - N8N_HOST=${SUBDOMAIN}.${DOMAIN_NAME}
      - N8N_PORT=5678
      - N8N_PROTOCOL=https
      - NODE_ENV=production
      - WEBHOOK_URL=https://${SUBDOMAIN}.${DOMAIN_NAME}/
      - GENERIC_TIMEZONE=${GENERIC_TIMEZONE}
      - DB_POSTGRESDB_DATABASE=${DB_POSTGRESDB_DATABASE}
      - DB_POSTGRESDB_HOST=${DB_POSTGRESDB_HOST}
      - DB_POSTGRESDB_PORT=${DB_POSTGRESDB_PORT}
      - DB_POSTGRESDB_USER=${DB_POSTGRESDB_USER}
      - DB_POSTGRESDB_PASSWORD=${DB_POSTGRESDB_PASSWORD}
      - DB_POSTGRESDB_SSL_REJECT_UNAUTHORIZED=${DB_POSTGRESDB_SSL_REJECT_UNAUTHORIZED}
    volumes:
      - n8n_data:/home/node/.n8n
      - ${DATA_FOLDER}/local_files:/files

volumes:
  caddy_data:
    external: true
  n8n_data:
    external: true
Apart from adding the DB_POSTGRESDB_ variables, you also need to add the extra_hosts setting to include host.docker.internal:host-gateway. This will enable n8n from inside the Docker container to connect to the PostgreSQL database using this hostname. Finally, you also need to modify your Caddyfile to have it work with the desired subdomain (n8n.example.com). Open this file using nano caddy_config/Caddyfile and paste the following contents:
n8n.example.com {
    reverse_proxy n8n:5678 {
      flush_interval -1
    }
}
Running n8n
Once you have all configurations ready, just run n8n with docker compose:
sudo docker compose up -d
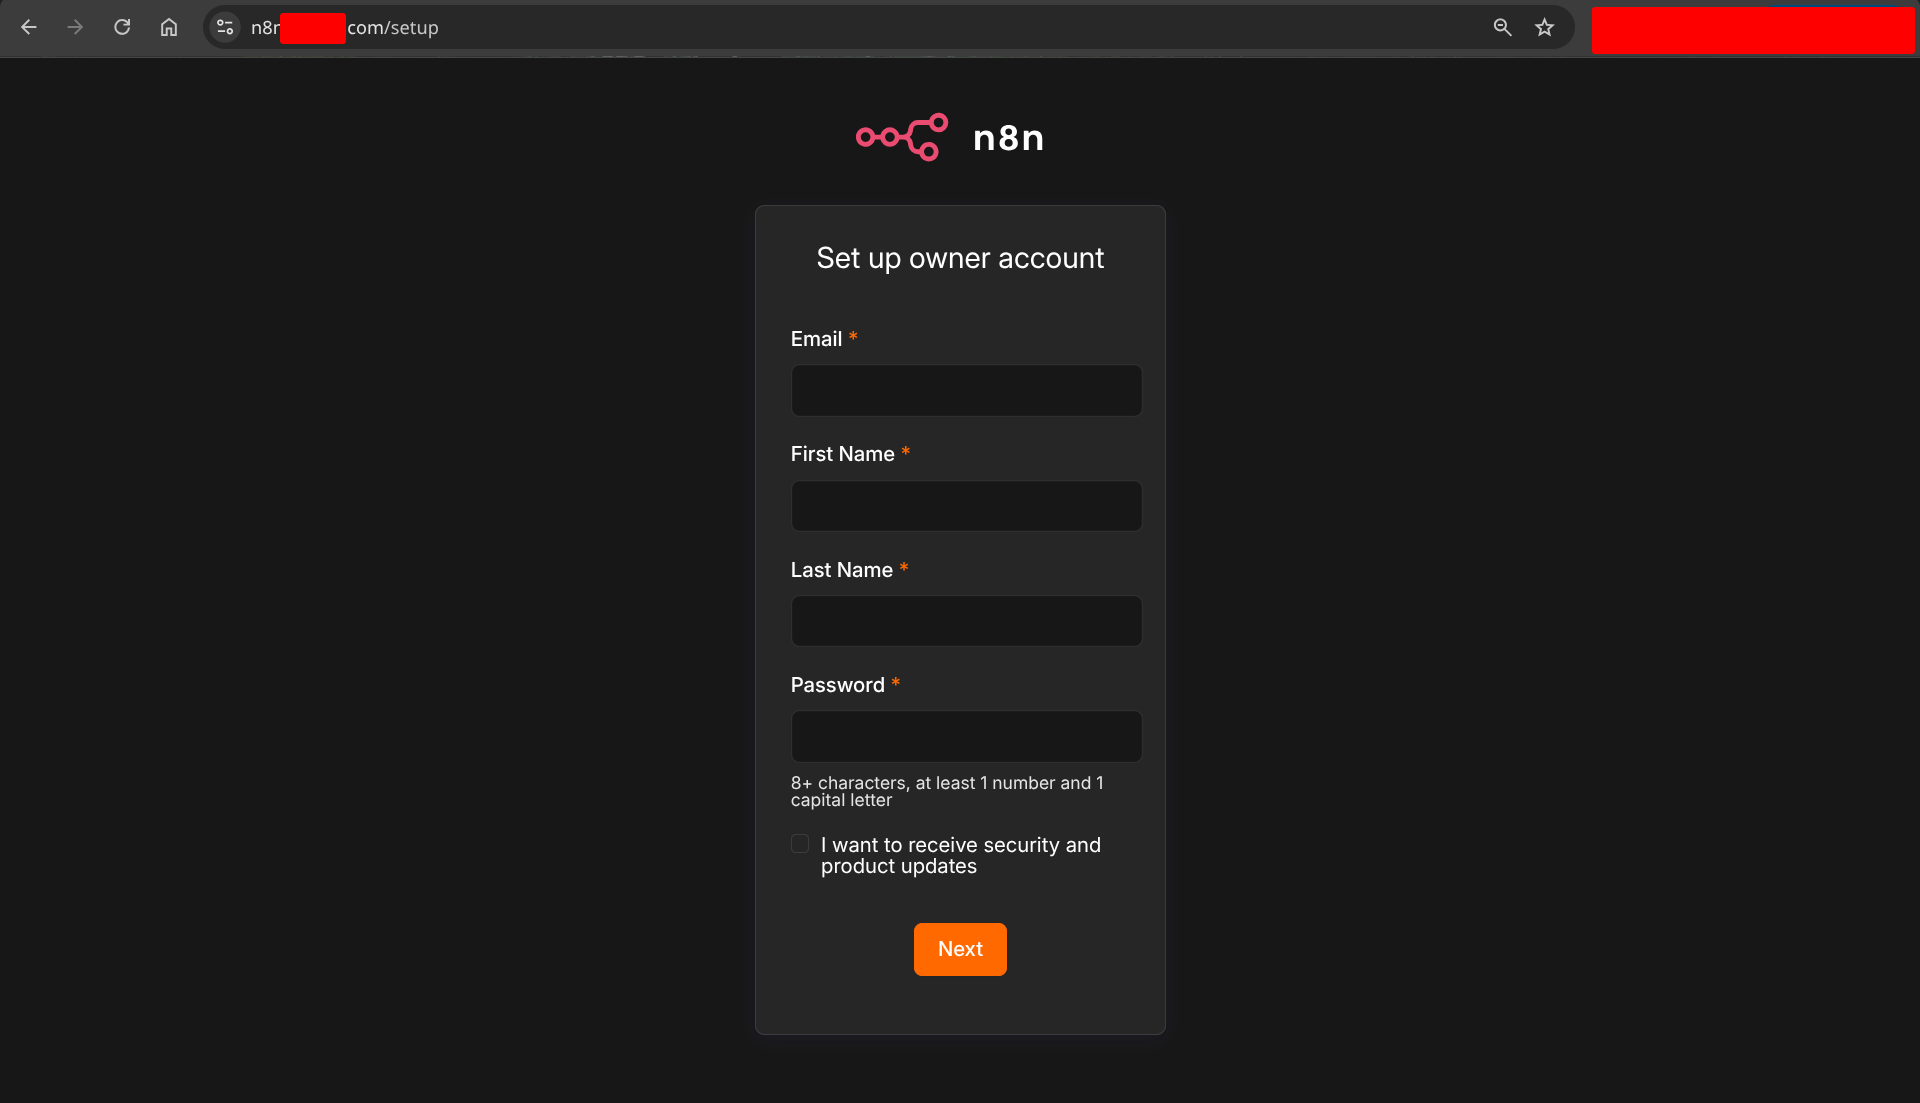
Now you can visit https://n8n.example.com in your browser to see that it's live. On your first visit it will ask to set up the owner account. Once that's done, you can log in, create workflows, and run them.
Setting up instance-wide outbound proxy for self-hosted n8n
With self-hosting, you can use an outbound proxy service for the whole instance instead of configuring a proxy for every single node. Self-hosted n8n instances can read the HTTPS_PROXY and HTTP_PROXY variables and use them as proxies for HTTPS and HTTP requests respectively. To do this in the Docker setup we showed earlier, you need to set the variables in the .env file and pass them to the running instance using docker-compose.yml.
Add these two lines to your .env:
HTTPS_PROXY=http://<your-username>:<your-pwd>@eu-01.outboundgateway.com:9443
HTTP_PROXY=http://<your-username>:<your-pwd>@eu-01.outboundgateway.com:9443
Add these two lines under services.n8n.environment in your docker-compose.yml:
- HTTPS_PROXY=${HTTPS_PROXY}
- HTTP_PROXY=${HTTP_PROXY}
Once this is done, restart n8n:
sudo docker compose stop
sudo docker compose up -d
To verify that this works as expected, you can create and run a workflow that checks the IP address of the instance by making an API call to https://outboundgateway.com/ip. This endpoint simply returns the IP address of the client that called it. So start with a manual trigger and connect it to an HTTP request node that makes a GET request to the specified URL. Screenshots of the setup are below:
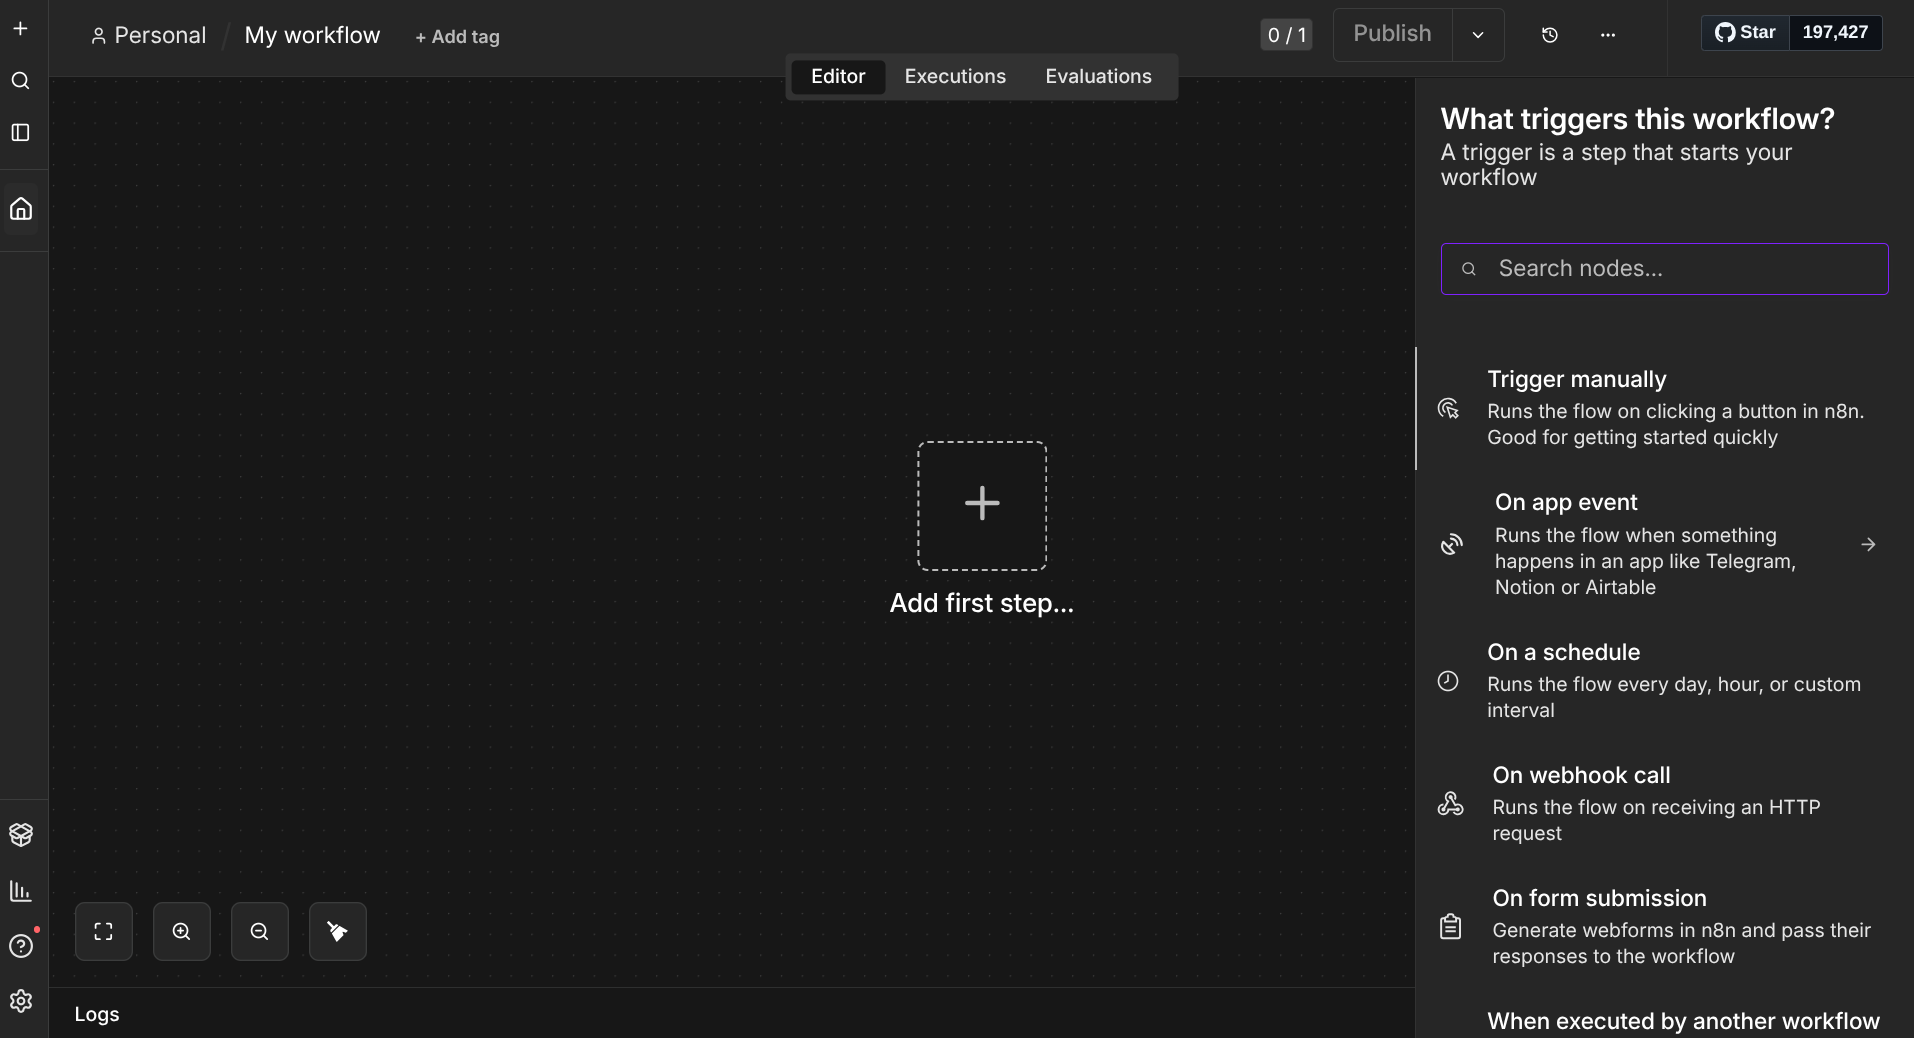
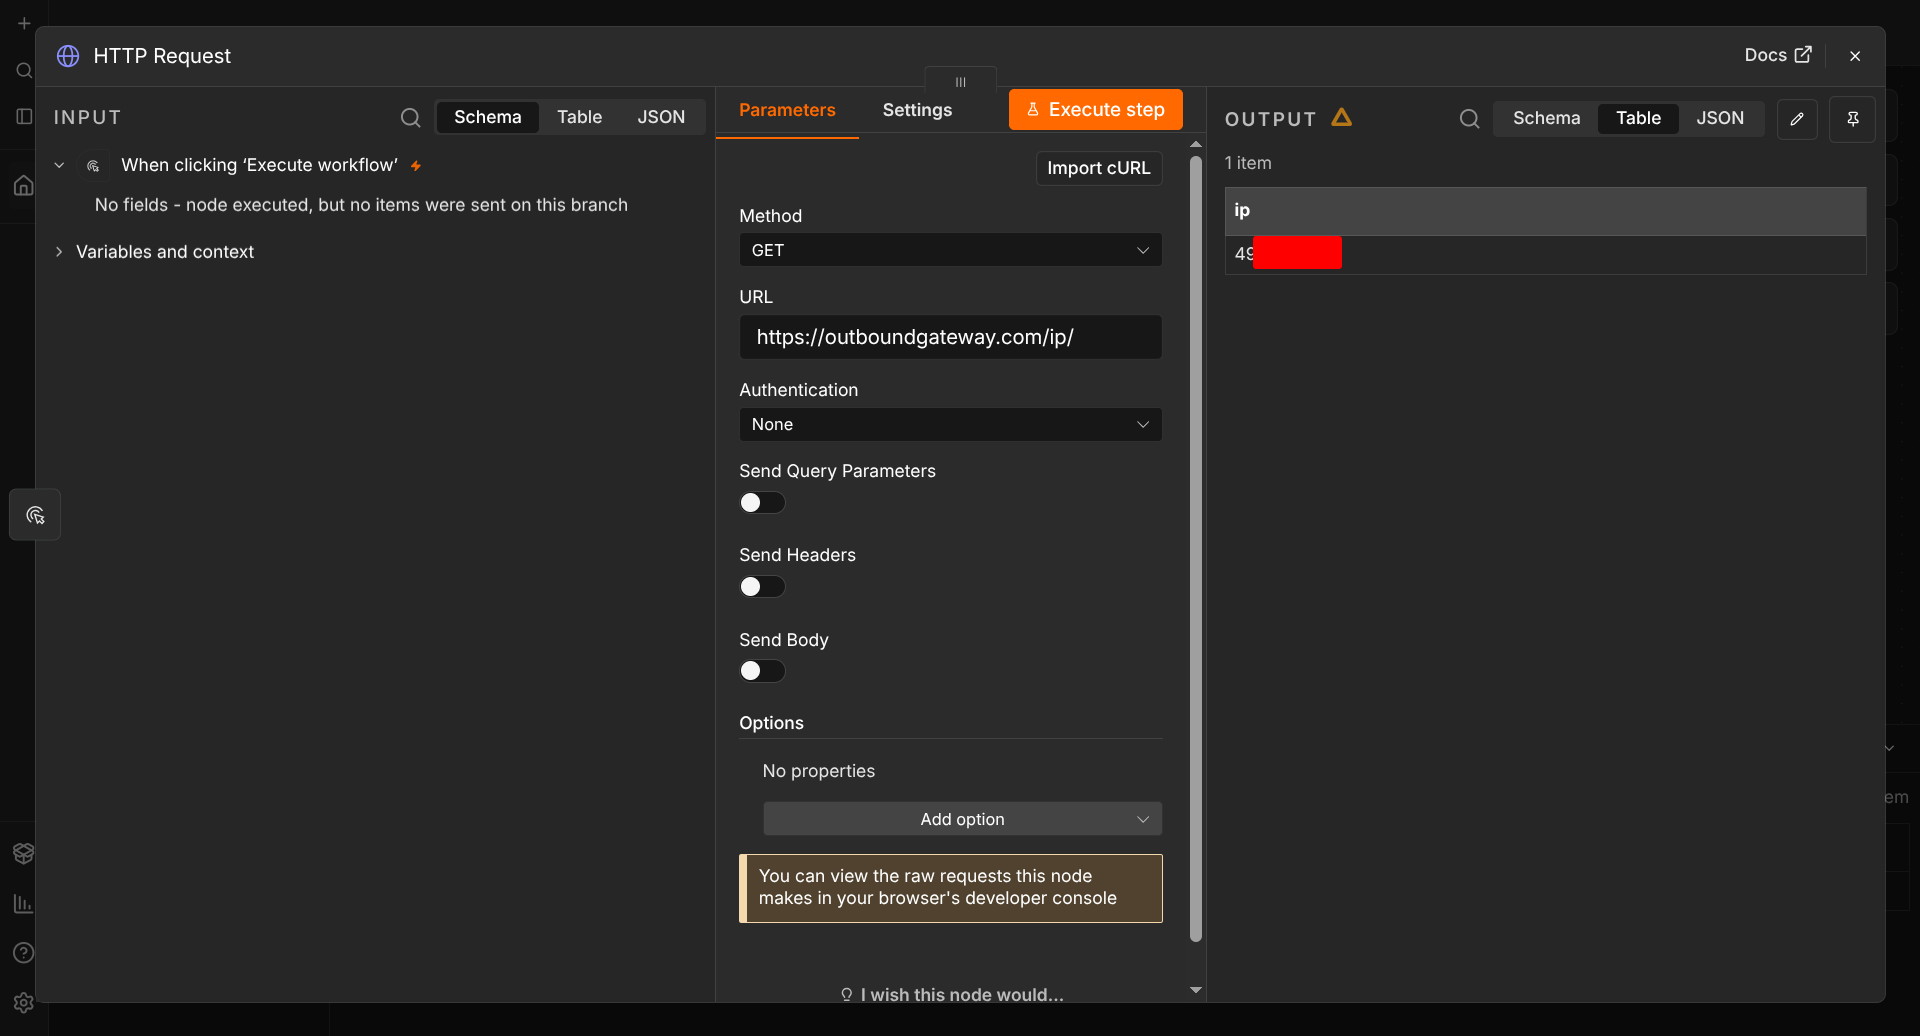
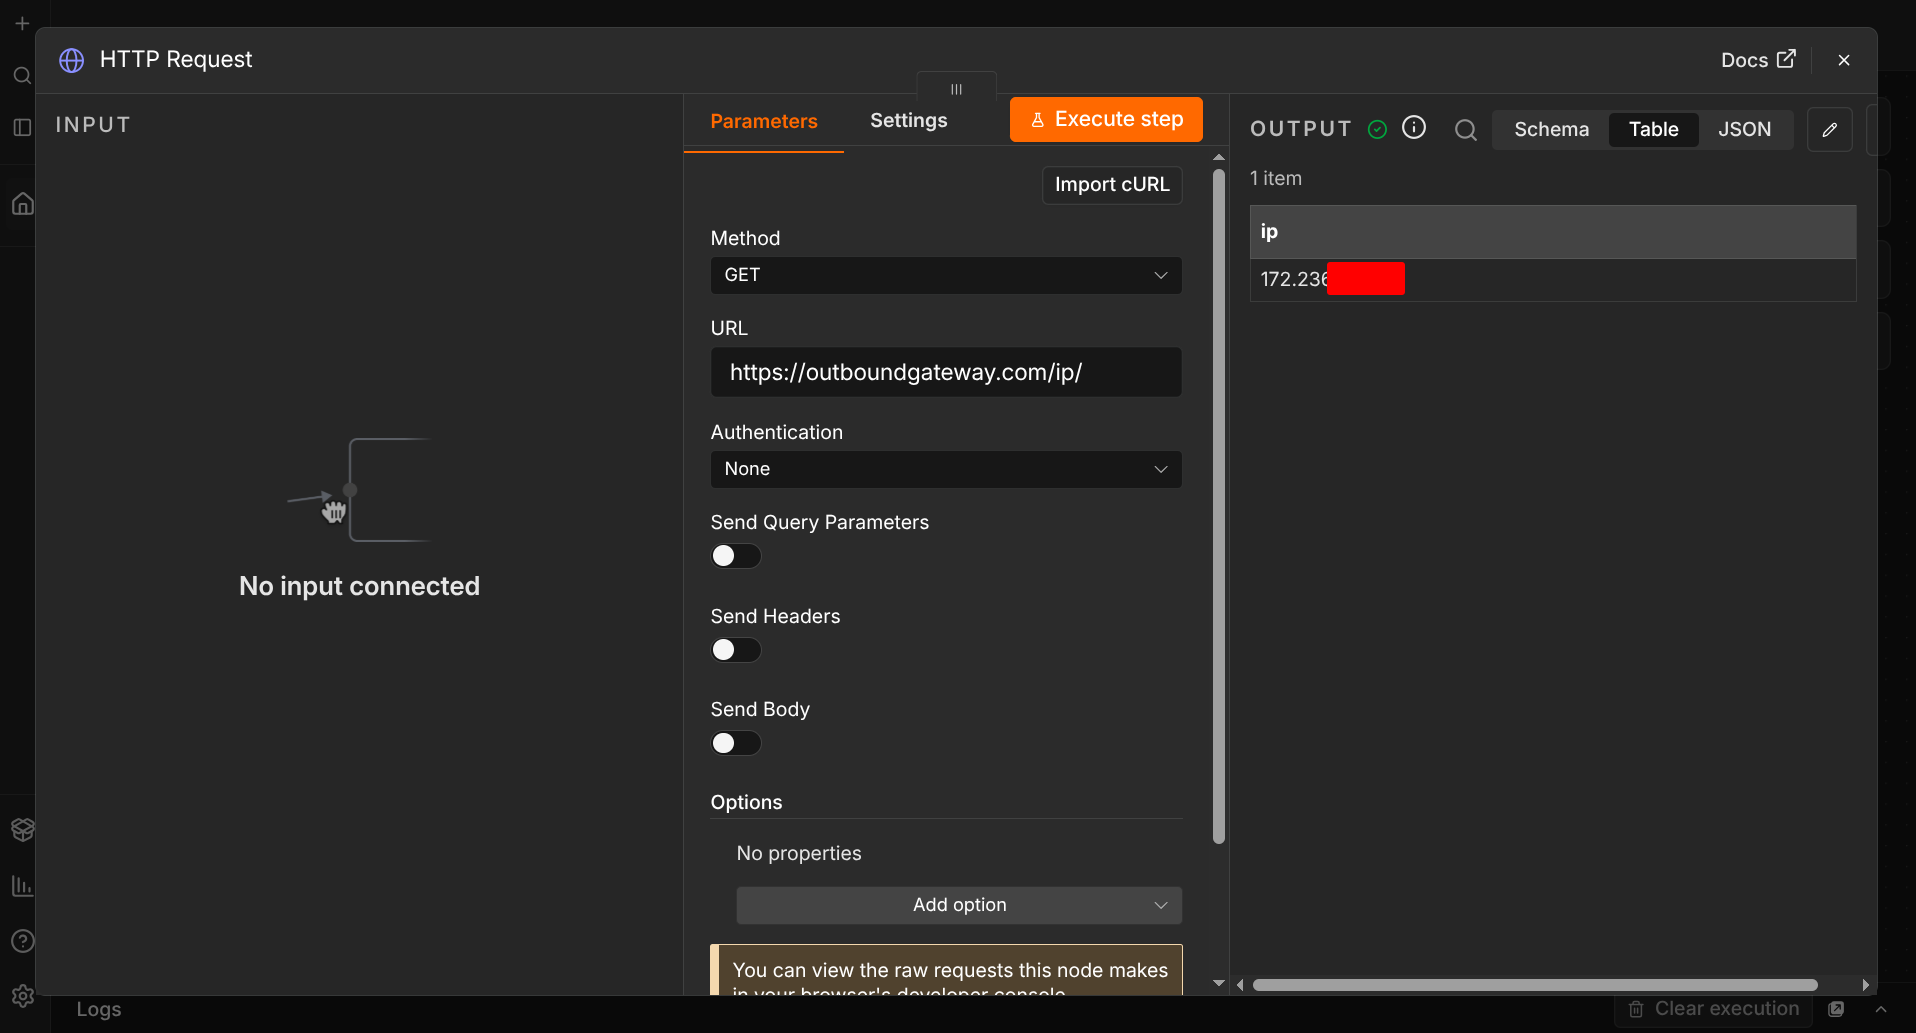
So when you run this node, n8n makes an HTTP request through the proxy and returns the OutboundGateway IP address, which is EU-based. For comparison, here's the IP returned without the proxy setup (we hosted this outside the EU):
Security notes for self-hosting n8n
Self-hosting can give you almost free and unlimited access to n8n, but it also means that you are in charge of everything, including security. Therefore, this is recommended only for experienced users who know what they're doing, or for those willing to do the reading and learning. Some of the no-brainer security measures include adding a firewall for incoming traffic, and setting a strong password for your PostgreSQL database. Ideally only ports 22, 80, and 443 must be accessible externally, for SSH, HTTP, and HTTPS respectively. All other ports need to be closed to external traffic, especially the PostgreSQL port (usually 5432). This firewall can be set up using your cloud provider's dashboard, or internally using ufw.
Conclusion
In this blog, we presented a detailed guide to self-host n8n. Self-hosting n8n can be a flexible and almost-free approach to using n8n's powerful workflow automation features. Further, we also looked at how to set up and use an outbound proxy for n8n workflows to make HTTP requests. This can be done instance-wide for self-hosted instances or per node for both self-hosted and cloud versions of n8n. OutboundGateway can provide a pair of static outbound IP addresses to be allowlisted or whitelisted on partner APIs that your n8n workflows are calling, which is helpful when your n8n instance does not have a fixed IP address to start with. OutboundGateway offers EU-based proxies for developers who want to keep their proxy setup in the EU. Plans start as low as €19/month, and you can also sign up for a free beta.
Built with ❤️ for EU businesses who care about privacy and sovereignty.
Frequently asked questions
Why use PostgreSQL instead of SQLite for self-hosting n8n?
While SQLite conveniently bundles a database into a file and saves setup time, it has limitations as a backend database for a multi-user web app. The database file can get locked at times and there can be concurrency issues. PostgreSQL solves most of these problems, offering a client-server model and smoothly handling multiple connections to the database.
What is the difference between setting an instance-wide proxy vs. a per-node proxy in n8n?
An instance-wide proxy applies to all the nodes and basically every HTTP request going out of your n8n setup. Since it's set using environment variables, you can do it only on self-hosted instances. A per-node proxy can be configured just for that node, and since this can be done through the front-end, you can do it on both self-hosted and cloud versions.
How to secure the local PostgreSQL database when running n8n?
To secure the PostgreSQL database for your n8n deployment, firstly set a strong password. Next, for smaller deployments, keep the database and the n8n server on the same machine, and allow only internal connections to the database. Keep the PostgreSQL port (5432) closed to external traffic using a firewall such as ufw. If your PostgreSQL server is on a different machine, allowlist only your n8n server's IP to access the database.
Why are my n8n HTTP Request nodes getting 403 errors?
A 403 error typically happens when the service blocks your request for unauthorized access. This can happen if the credentials are wrong, or if the client's IP address is not authorized to access the service. n8n nodes can often have dynamic IP addresses, but the API your node calls might need a static IP for allowlisting or whitelisting. In this case, you can use a static outbound proxy service such as OutboundGateway to make requests through a pair of fixed IPs.
Can I use my existing web server (like Nginx or Apache) instead of Caddy for n8n?
Yes, you can. Caddy is just the default inclusion in the n8n Docker setup and automatically handles SSL certificate provisioning. You can also use NGINX or Apache, proxy the traffic to the n8n port (5678), and provision your own SSL certificate using tools such as certbot.