Table of Contents
- Prerequisites: the Airtable side
- Create a Railway account
- Clone the FastAPI proxy project
- Create the Railway project and connect GitHub
- Set environment variables
- Enable public networking
- Deploy and check the logs
- Frequently Asked Questions (FAQs)
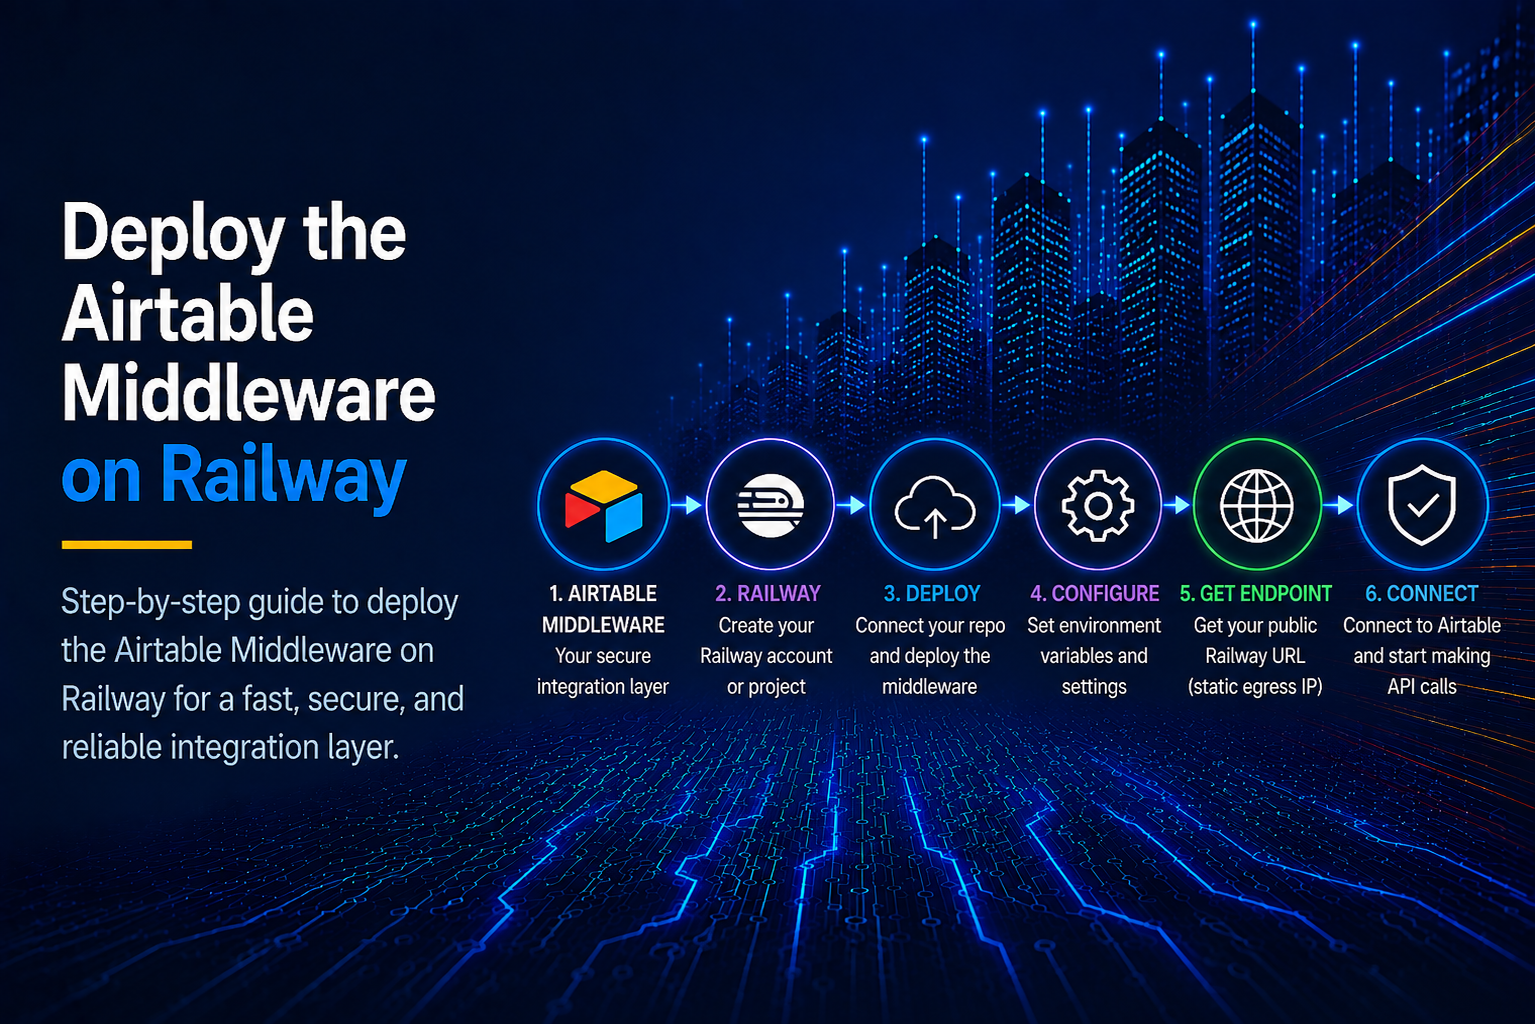
This is the follow-up to the Airtable IP whitelisting guide. In that post we set up an Airtable automation that calls a small middleware service, and we noted that the middleware runs on Railway hosting a Python FastAPI script. This post walks through creating a Railway account and deploying that middleware so your Airtable automation can route its requests through OutboundGateway.
Prerequisites: the Airtable side
Before this, you should have the Airtable automation from the previous post in place, including the script snippet that POSTs to your middleware URL. If you haven't set that up yet, start with the Airtable IP whitelisting guide first.
The middleware in this guide is the ready-made FastAPI project at OutboundGateway/railway-fastapi. It receives the request from Airtable and forwards it through the OutboundGateway proxy so it egresses from your two fixed static EU IPs.
Create a Railway account
Opening an account on Railway is quick. Go to railway.app and sign up. Railway offers a free trial so you can try the setup before committing to a paid plan.
Clone the FastAPI proxy project
Railway deploys from a Git repository, so you need to host the project on GitHub or GitLab. Railway connects to your repository and can track new commits, rebuild, and redeploy automatically.
You don't have to write the middleware from scratch. Clone the ready-made project from the OutboundGateway GitHub page at OutboundGateway/railway-fastapi, then push it to a new repository in your own GitHub account.
Create the Railway project and connect GitHub
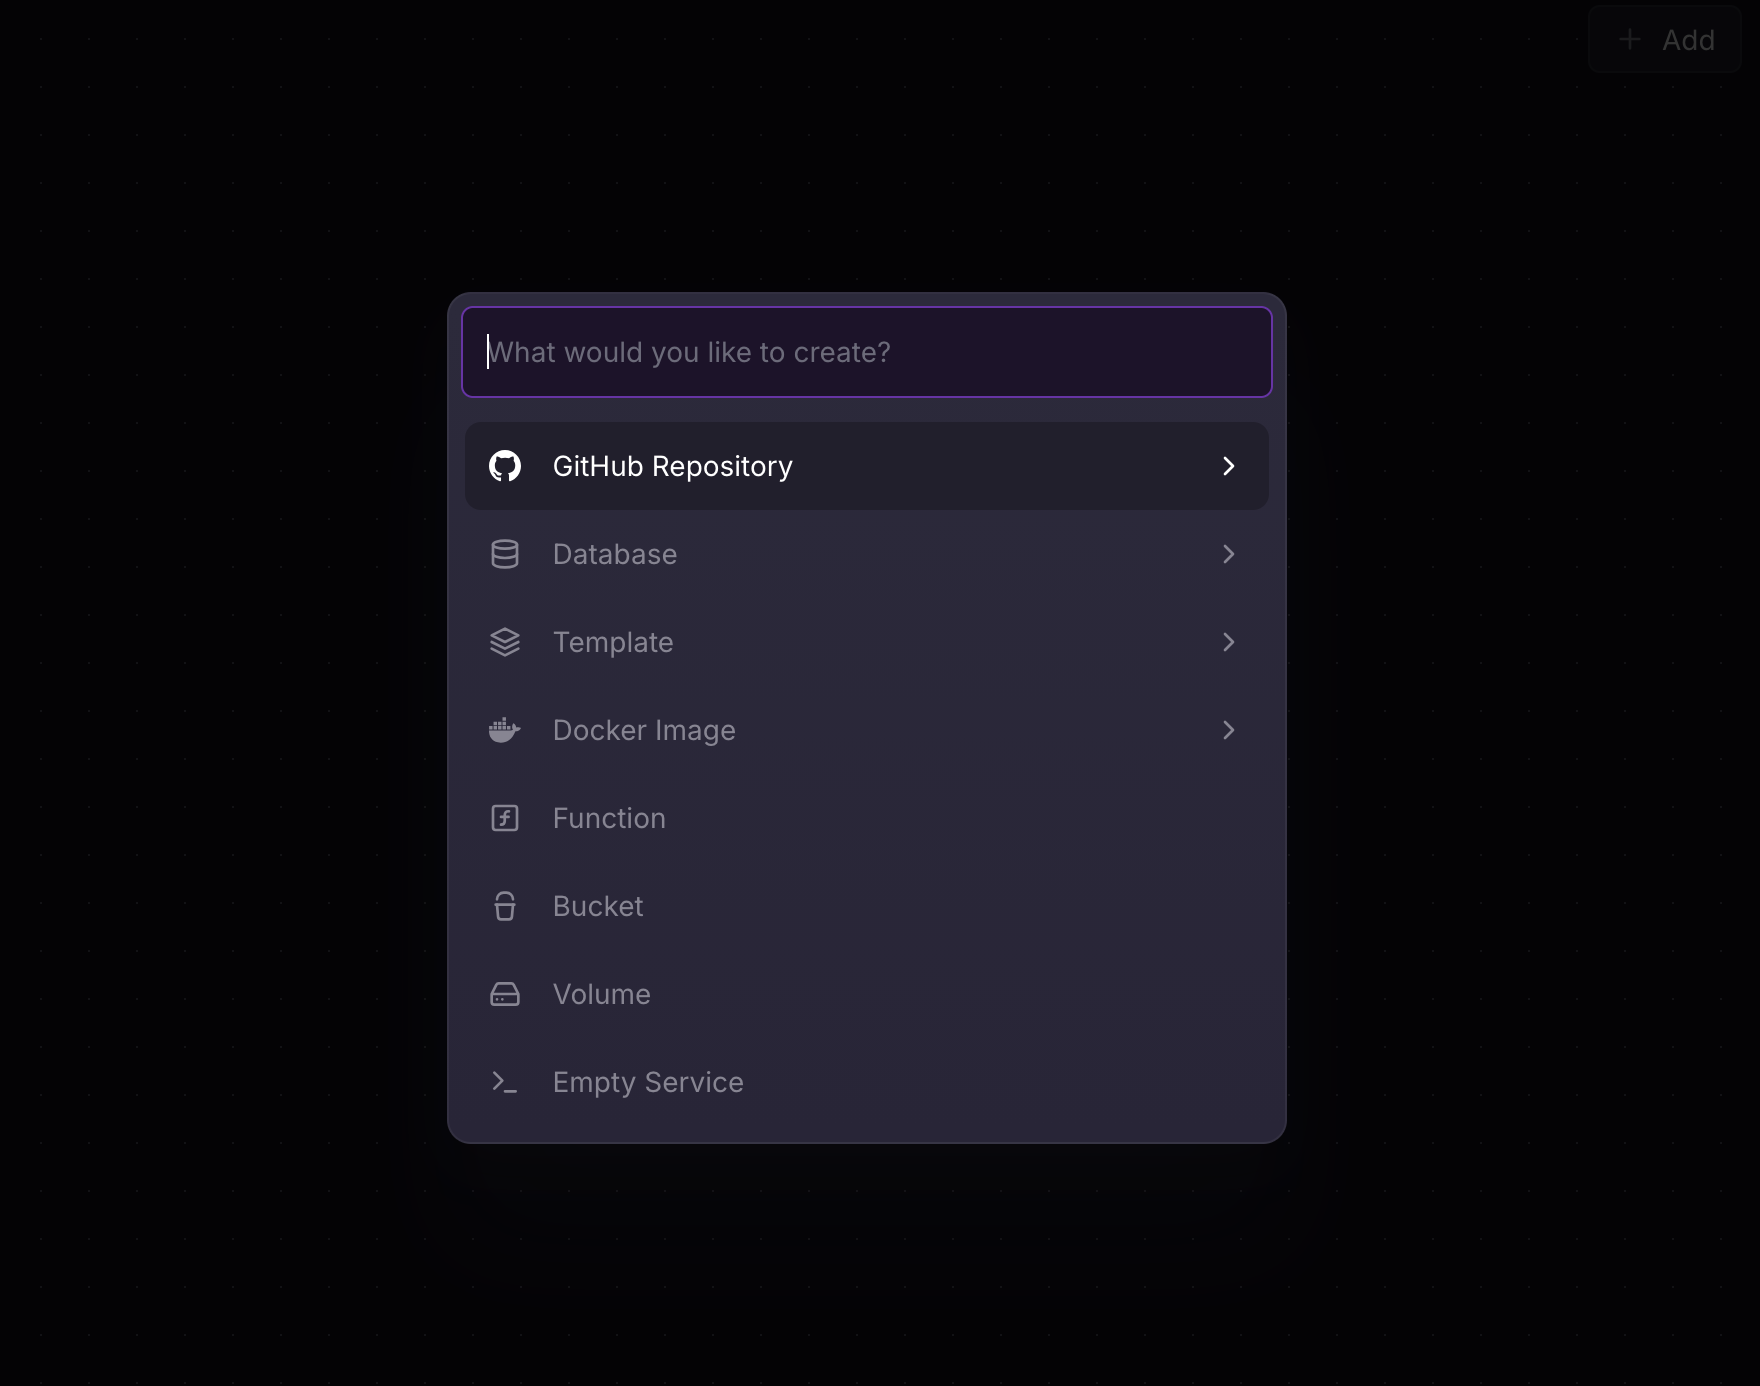
Create a new project in Railway and connect it to your GitHub repository. The repository connection lives in the Settings section of the project.
Set environment variables
Add a few environment variables to the Railway project. The most important is OUTBOUNDGATEWAY_URL, which contains the connection details for the OutboundGateway proxy. You can find your proxy credentials in the OutboundGateway dashboard after you sign up.
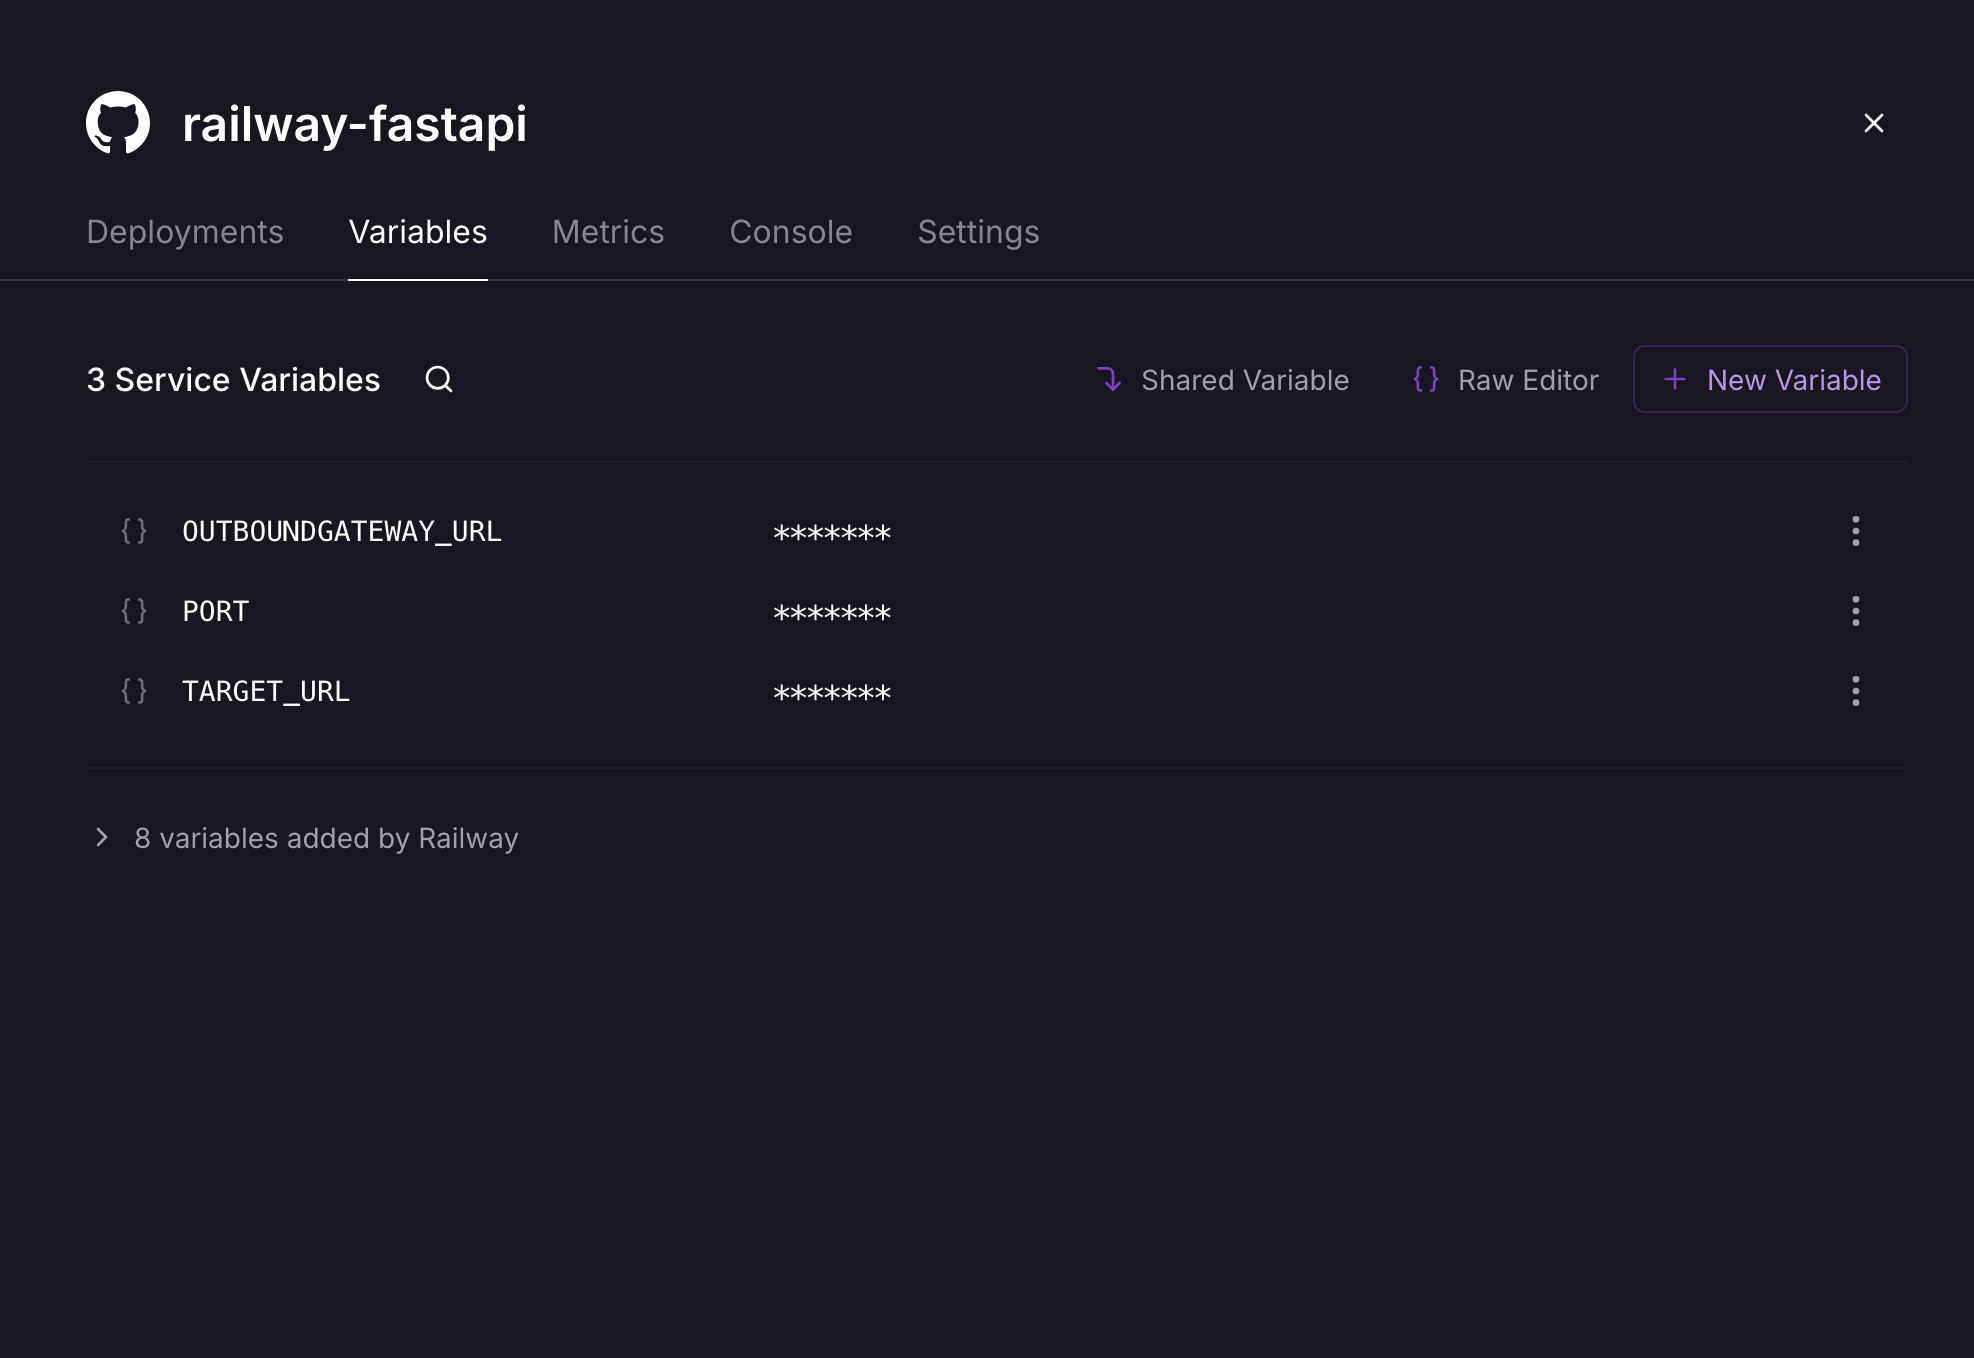
Also add:
PORT=8080
TARGET_URL=https://outboundgateway.com/ip
Enable public networking
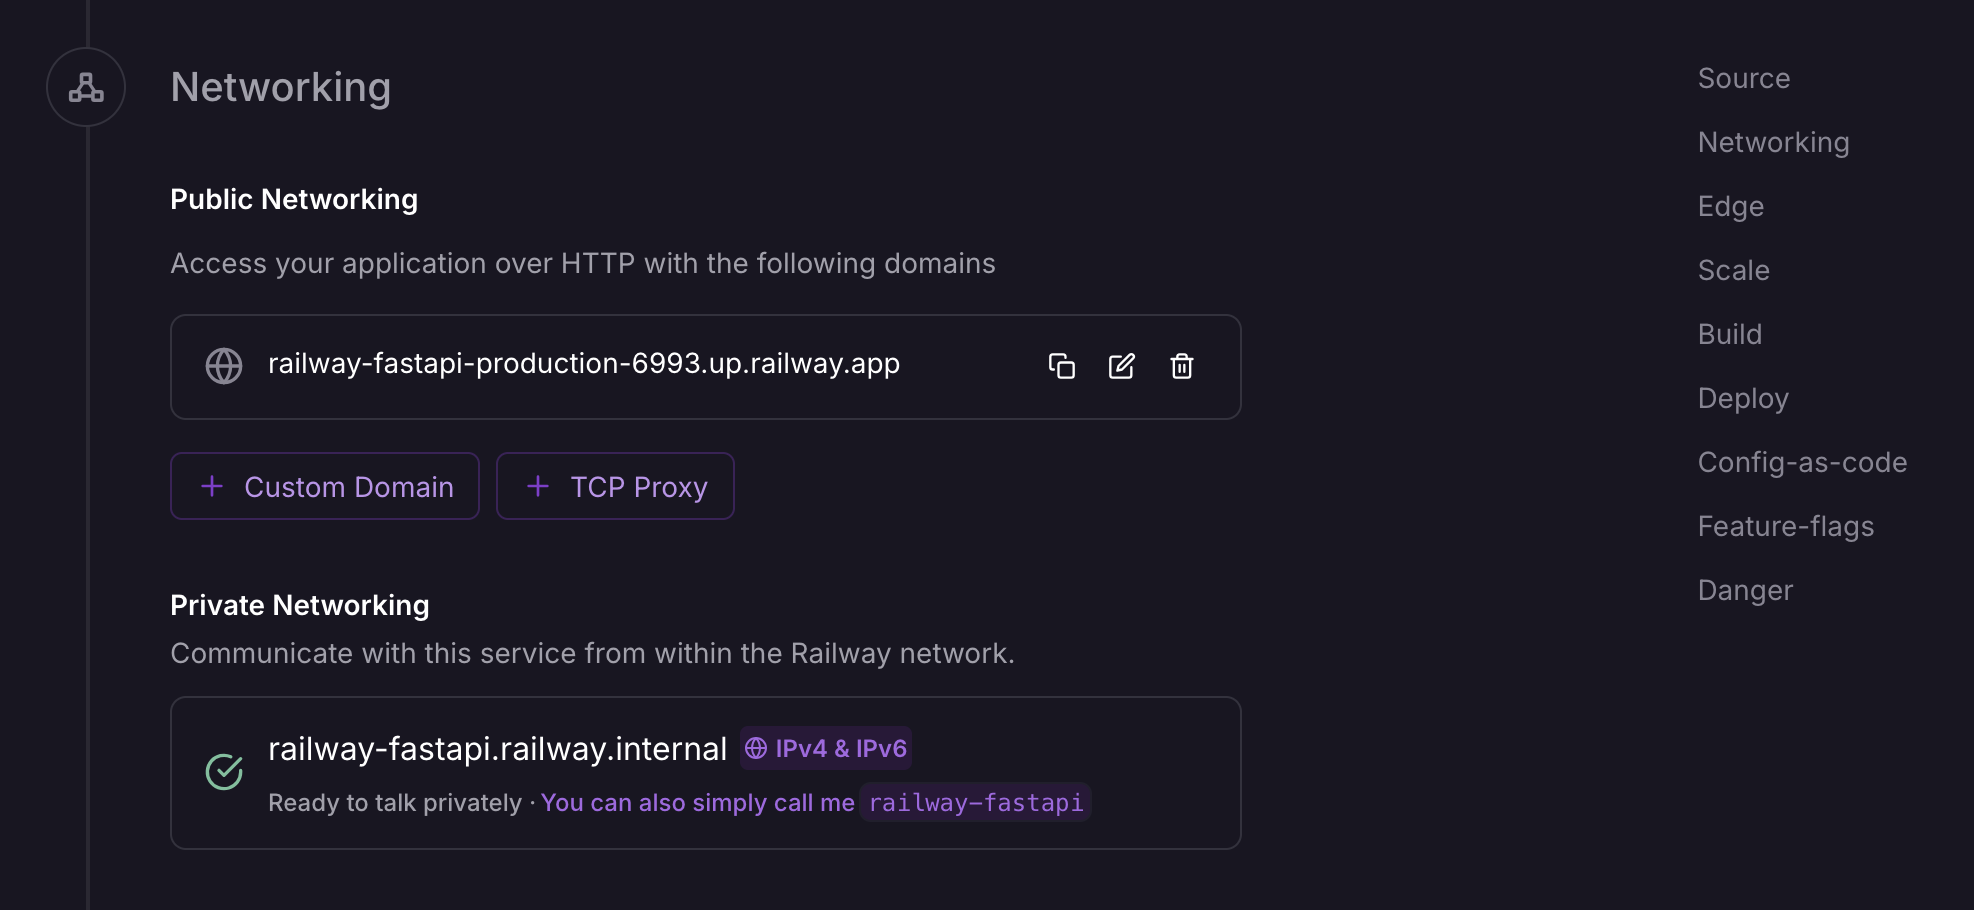
In the Settings tab, open Public Networking and enable it so that your Railway app gets a live, publicly reachable URL. This is the URL your Airtable automation will call as its middleware endpoint.
Deploy and check the logs
By this point the deploy button should be available. Clicking it starts the deployment process for your app.
After a short wait, your Railway FastAPI service should be running without errors. If anything goes wrong, check the Deploy Logs for your app inside Railway to debug.
Once it's live, point the proxyApiUrl in your Airtable script at the public Railway URL, and your Airtable automation will route its outbound requests through OutboundGateway's static EU IPs.
Built with ❤️ for EU businesses who care about privacy and sovereignty.
Frequently Asked Questions (FAQs)
Do I need the Airtable post to follow this one?
Yes, this guide is the second half of the Airtable IP whitelisting setup. It deploys the middleware service that the Airtable automation calls. Start with the Airtable post to create the automation and the script, then come back here to deploy the Railway middleware.
Why Railway specifically for the middleware?
Railway gives you a fast path from a Git repository to a live, publicly reachable service, which is exactly what the Airtable-to-OutboundGateway middleware needs. You can equally run the same FastAPI app on Render, Fly.io, Scalingo, Clever Cloud, or Vercel; Railway is used here as a concrete, beginner-friendly example.
What does the OUTBOUNDGATEWAY_URL environment variable contain?
It contains the full proxy connection string for OutboundGateway (scheme, username, password, host, and port), which the middleware uses to route its outbound requests. You get the exact value from the OutboundGateway dashboard after you sign up, and you set it as a runtime environment variable in Railway so it never lands in your code or Git history.