Table of Contents
- Introduction
- Quick Answer (TL;DR)
- Importance of a Static IP for Outbound Proxies
- Prerequisites and Requirements
- How NGINX Functions as a Forward Proxy
- Step-by-Step: Configure NGINX as an Outbound Proxy
- Conclusion
- Frequently Asked Questions (FAQs)
Introduction
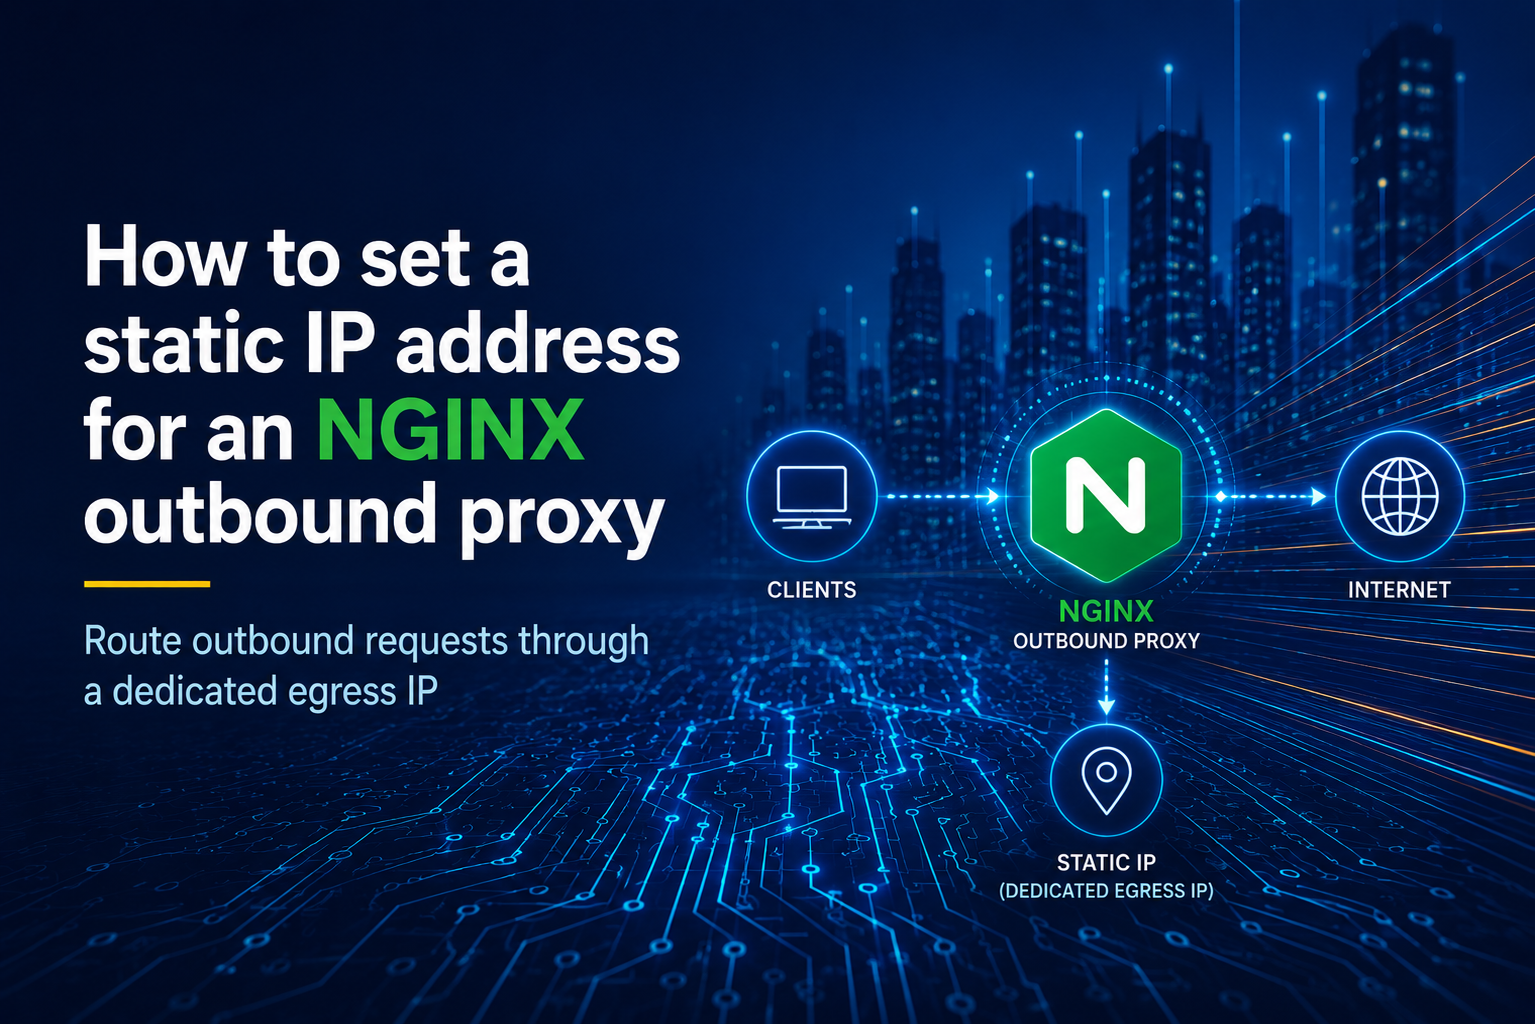
While NGINX is famous as a reverse proxy - distributing incoming traffic to backend servers like Puma or Uvicorn - it can also function as a forward proxy (also known as an outbound proxy). Instead of managing requests coming in, a forward proxy routes requests going out from your internal network to the internet.
The primary use case for a static forward proxy is IP whitelisting. Many industries such as e-commerce, finance, healthcare, and security - protect their external resources behind firewalls. To access these resources, you must provide them with a static, persistent IP address that they can add to their allowlist. A single exposed resource can compromise an entire network, making strict firewall policies standard practice.
This tutorial walks through configuring NGINX as a static outbound proxy to route your traffic through a stable, whitelisted IP address.
Note: This guide assumes familiarity with the terminal, Linux servers, and basic networking concepts.
Quick Answer (TL;DR)
Setting up NGINX as an outbound proxy requires compiling the ngx_http_proxy_connect_module, configuring NGINX to handle proxy_connect directives, and securing the connection with SSL.
Below is the core NGINX configuration required for a static outbound proxy. Read the full guide for step-by-step installation and SSL setup instructions.
server {
    listen 443 ssl;
    server_name proxy.example.com; # Your DNS

    resolver 8.8.8.8 8.8.4.4 valid=300s;
    resolver_timeout 5s;

    ssl_certificate /etc/letsencrypt/live/proxy.example.com/fullchain.pem;
    ssl_certificate_key /etc/letsencrypt/live/proxy.example.com/privkey.pem;

    more_set_input_headers "Authorization: $http_proxy_authorization";

    auth_basic "Proxy Authentication";
    auth_basic_user_file /etc/nginx/.htpasswd;

    # Forward Proxy Magic
    proxy_connect;
    proxy_connect_allow          443 563;
    proxy_connect_connect_timeout 60s;
    proxy_connect_read_timeout    60s;
    proxy_connect_send_timeout    60s;

    location / {
        proxy_http_version 1.1;
        proxy_set_header Host $http_host;
        proxy_pass $scheme://$http_host$request_uri;
    }
}
Importance of a Static IP for Outbound Proxies
A "static" outbound proxy requires a stable outgoing IP address (or multiple IPs for high availability) for all your requests. Most cloud providers (like AWS, Google Cloud, and Azure) do not provide static IPs by default. For example, on AWS, you must assign an Elastic IP to your instance to ensure the IP persists across server restarts or stops. On Hetzner, this is known as a Floating IP.
Prerequisites and Requirements
To follow this tutorial, you need a small Ubuntu server (24.04 LTS is used here) with a static IP. You can get a highly affordable server from providers like Hetzner, but any cloud provider that allows you to attach a static IP will work.
(Refer to your specific cloud provider's documentation on how to assign a static or elastic IP to your server.)
How NGINX Functions as a Forward Proxy
Because NGINX is built primarily as a reverse proxy, it does not support forward proxying natively. To enable outbound proxy functionality, NGINX must be set up with the ngx_http_proxy_connect_module, which allows it to handle the HTTP CONNECT method used by forward proxies.
Step-by-Step: Configure NGINX as an Outbound Proxy
1. Install NGINX and the Connect Module
After provisioning your server, install NGINX, the required build libraries, and the ngx_http_proxy_connect_module.
sudo apt update
sudo apt install -y build-essential libpcre3-dev zlib1g-dev libssl-dev git

# download official Nginx source and the proxy module
mkdir ~/nginx_build && cd ~/nginx_build
wget http://nginx.org/download/nginx-1.24.0.tar.gz
tar -xzf nginx-1.24.0.tar.gz
git clone https://github.com/chobits/ngx_http_proxy_connect_module.git
git clone https://github.com/openresty/headers-more-nginx-module.git


# cd into the nginx folder
cd nginx-1.24.0


# patch the source so it understands the CONNECT method
patch -p1 < ../ngx_http_proxy_connect_module/patch/proxy_connect_rewrite_102101.patch


# configure Nginx (Standard Ubuntu paths + our module baked in)
./configure \
--prefix=/etc/nginx \
--sbin-path=/usr/sbin/nginx \
--modules-path=/usr/lib/nginx/modules \
--conf-path=/etc/nginx/nginx.conf \
--error-log-path=/var/log/nginx/error.log \
--http-log-path=/var/log/nginx/access.log \
--pid-path=/var/run/nginx.pid \
--lock-path=/var/run/nginx.lock \
--with-http_ssl_module \
--with-http_v2_module \
--add-module=../ngx_http_proxy_connect_module \
--add-module=../headers-more-nginx-module


# compile and install Nginx
make
sudo make install


# create the systemd service file so Nginx starts on boot
sudo tee /etc/systemd/system/nginx.service > /dev/null <<EOF
[Unit]
Description=Nginx HTTP Server
After=network.target

[Service]
Type=forking
ExecStartPre=/usr/sbin/nginx -t -q -g 'daemon on; master_process on;'
ExecStart=/usr/sbin/nginx -g 'daemon on; master_process on;'
ExecReload=/usr/sbin/nginx -s reload
ExecStop=/usr/sbin/nginx -s quit
Restart=always

[Install]
WantedBy=multi-user.target
EOF


# overwrite the default nginx.conf with a clean version that includes our proxy config
sudo tee /etc/nginx/nginx.conf > /dev/null <<'EOF'
worker_processes auto;
events {
    worker_connections 1024;
}
http {
    include       mime.types;
    default_type  application/octet-stream;
    sendfile      on;
    keepalive_timeout 65;
    include /etc/nginx/sites-enabled/*;
}
EOF

# create sites-available and sites-enabled directories
sudo mkdir -p /etc/nginx/sites-available /etc/nginx/sites-enabled
Check the NGINX configuration and restart the service, ensuring it starts automatically on boot:
sudo nginx -t
sudo systemctl restart nginx
sudo systemctl enable nginx
sudo systemctl status nginx
2. Create the Forward Proxy Configuration
With the module installed, create the main outbound proxy configuration file:
sudo touch /etc/nginx/sites-available/proxy.conf
Add the following initial configuration:
server {
    listen 80;

    resolver 8.8.8.8 8.8.4.4 valid=300s;
    resolver_timeout 5s;

    # Forward Proxy Magic
    proxy_connect;
    proxy_connect_allow          443 563;
    proxy_connect_connect_timeout 60s;
    proxy_connect_read_timeout    60s;
    proxy_connect_send_timeout    60s;

    location / {
        proxy_http_version 1.1;
        proxy_set_header Host $http_host;
        proxy_pass $scheme://$http_host$request_uri;
    }
}
Enable the configuration by symlinking it and restart NGINX:
sudo ln -s /etc/nginx/sites-available/proxy.conf /etc/nginx/sites-enabled/
sudo nginx -t
sudo systemctl restart nginx
3. Add Proxy Authentication
An open proxy is a massive security risk. You must add authentication to prevent unauthorized use of your proxy server.
Install apache2-utils and create a username and password:
sudo apt install apache2-utils
sudo htpasswd -c /etc/nginx/.htpasswd your_username
Update the NGINX proxy configuration to require authentication by adding the auth_basic directives inside the server block with the more_set_input_headers command:
more_set_input_headers "Authorization: $http_proxy_authorization";

auth_basic "Proxy Authentication";
auth_basic_user_file /etc/nginx/.htpasswd;
Restart NGINX to apply the changes:
sudo systemctl restart nginx
4. Test the Unencrypted Proxy
Test if the forward proxy is working correctly using curl:
curl -v -x http://your_username:your_password@YOUR_SERVER_IP:80 https://httpbin.org/ip
If successful, the returned IP address will be your server's static IP, not your local machine's IP.
The Encryption Problem: While this configuration works, the connection between the client and the NGINX proxy is unencrypted. This means your username, password, and target domain are sent as base64 encoded text, leaving them vulnerable to interception.
Here is a breakdown of the security gap in the unencrypted setup:
[CLIENT]                               [PROXY (Nginx)]                        [TARGET (httpbin.org)]
   |                                          |                                       |
   |--- CONNECT httpbin.org:443 ------------->|                                       |
   |    [UNENCRYPTED: Username, Password,]    |--- Open raw TCP socket -------------->|
   |    [UNENCRYPTED: Target Domain]          |                                       |
   |                                          |                                       |
   |<-- 200 Connection Established -----------|                                       |
   |                                          |                                       |
   |========== TLS Handshake =================|====== TLS Handshake =================>|
   | [ENCRYPTED: Certificates, Keys]          | (Proxy cannot read, just forwards)    |
   |                                          |                                       |
   |============ GET /ip =====================|========== GET /ip ===================>|
   | [ENCRYPTED: URL Path, Headers, Cookies]  | (Proxy cannot read, just forwards)    |
   |                                          |                                       |
   |<=========== 200 OK ======================|<=========== 200 OK ===================|
   | [ENCRYPTED: Page Content, Data]          | (Proxy cannot read, just forwards)    |
5. Secure the Proxy with SSL/Let's Encrypt
To fix this vulnerability, you must secure the proxy connection with SSL certificates. This requires a domain name pointing to your server's static IP. You can purchase domains affordably from registrars like Namecheap or Hostinger
Once you have purchased a domain, create an A Record in your DNS settings that points your domain (e.g., proxy.example.com) to your server's static IP.
Install certbot and the NGINX plugin on your server:
sudo apt install -y certbot
Then we need to temporarily stop nginx cause certobot will also run on port 80 to verify the domain:
sudo systemctl stop nginx
Run certbot to generate the SSL certificates (replace proxy.example.com with your actual domain):
sudo certbot certonly --standalone -d proxy.example.com
Update your NGINX configuration to listen on port 443 and include your domain name with the certificates that certbot generated for you.
Your final configuration should look like this:
server {
    listen 443 ssl;
    server_name proxy.example.com; # Your DNS

    resolver 8.8.8.8 8.8.4.4 valid=300s;
    resolver_timeout 5s;

    ssl_certificate /etc/letsencrypt/live/proxy.example.com/fullchain.pem;
    ssl_certificate_key /etc/letsencrypt/live/proxy.example.com/privkey.pem;

    more_set_input_headers "Authorization: $http_proxy_authorization";

    auth_basic "Proxy Authentication";
    auth_basic_user_file /etc/nginx/.htpasswd;

    # Forward Proxy Magic
    proxy_connect;
    proxy_connect_allow          443 563;
    proxy_connect_connect_timeout 60s;
    proxy_connect_read_timeout    60s;
    proxy_connect_send_timeout    60s;

    location / {
        proxy_http_version 1.1;
        proxy_set_header Host $http_host;
        proxy_pass $scheme://$http_host$request_uri;
    }
}
Test the configuration and restart NGINX one final time:
sudo nginx -t
sudo systemctl restart nginx
Test the fully secured proxy:
curl -v -x https://your_username:your_password@proxy.example.com https://httpbin.org/ip
You now have a functioning, secure static outbound IP proxy server ready for your projects!
Conclusion
This guide covered how to set up an outbound/forward proxy with NGINX, allowing you to route requests through a stable IP address for third-party IP whitelisting.
However, this implementation has limitations that make it unsuitable for production environments out-of-the-box:
- No High Availability (HA): If this server goes offline or encounters a network error, all requests routing through it will fail.
- No Monitoring or Logging: There are no built-in alarms, metrics, or accessible logs to quickly diagnose issues when something goes wrong.
- Maintenance Overhead: You are responsible for server maintenance, OS updates, and security patches, which requires dedicated time and effort.
If your team needs a reliable outbound proxy without the infrastructure overhead, OutboundGateway offers an EU-native, GDPR-compliant solution with built-in high availability and monitoring.
Frequently Asked Questions (FAQs)
What is the difference between a forward proxy and a reverse proxy?
A reverse proxy sits in front of web servers, distributing incoming client traffic to backend application servers. A forward proxy sits in front of clients, routing outgoing traffic to the internet - often used to bypass restrictions or mask a client's IP.
Can NGINX be used as a forward proxy natively?
No. NGINX is designed natively as a reverse proxy. To use it as a forward proxy, you must compile it with the third-party ngx_http_proxy_connect_module to handle the HTTP CONNECT method.
Why do I need a static IP for an outbound proxy?
A static IP is required for IP whitelisting. Many secure APIs and enterprise firewalls block traffic from unknown or dynamic IPs. By routing traffic through a static IP proxy, the service provider can safely add your IP to their allowlist.
Is basic authentication over HTTP secure for a proxy?
No. Basic authentication sends credentials as easily decodable base64 text. Anyone intercepting the traffic between the client and the proxy can read the username and password. Always secure your proxy with SSL/TLS (HTTPS) if authentication is required.